5 Common Mistakes When Installing Bathroom Accessories Without Drilling – and How to Avoid Them
Installing bathroom accessories that don’t require drilling is the perfect solution for anyone who wants to avoid drilling into tiles for various reasons. However, many people make mistakes that cause shelves, holders, or hooks to fall off after just a few days.
We want to share the 5 most common mistakes people make when installing no-drill bathroom accessories and explain how to avoid them. By following these steps, you can achieve a secure and long-lasting installation of your modern bathroom accessories.
Mistake 1: Mounting on Uneven or Unsuitable Surfaces
Why self-adhesive bathroom accessories don’t stick to rough or textured tiles

Adhesives don’t stick properly to porous, textured, or uneven areas, and they may also fail on certain types of tiles.
You need to inspect your wall carefully and make sure the surface is smooth and flat enough to hold double-sided tape. Some tiles have a 3D stone effect, others are very small with lots of grout lines, and some have a textured structure. Before applying no-drill bathroom accessories, always confirm that your surface is suitable. Grout lines prevent the tape from bonding properly and may cause the product to fall off.
If your wall is uneven, consider using screws and dowels instead. Many of our products are designed to give you that choice — they can be installed either drill-free or with classic dowels and screws.
Mistake 2: Not Cleaning the Surface Properly
Why dirt, limescale, or soap residue makes no-drill bathroom accessories fall off

Dirt, limescale, soap residue, or leftover cosmetics on bathroom tiles can cause no-drill bathroom accessories to fall off quickly.
So, if your wall surface is suitable, the next crucial step is cleaning. As with most things in life, preparation has a huge impact on the result — and this is no different.
How to do it correctly:
1.Start by cleaning with soap or a mild bathroom cleaner to remove visible dirt from the tiles.
2.Rinse with water to wash away any chemical residue.
3.Finally, use isopropyl alcohol to degrease the surface.
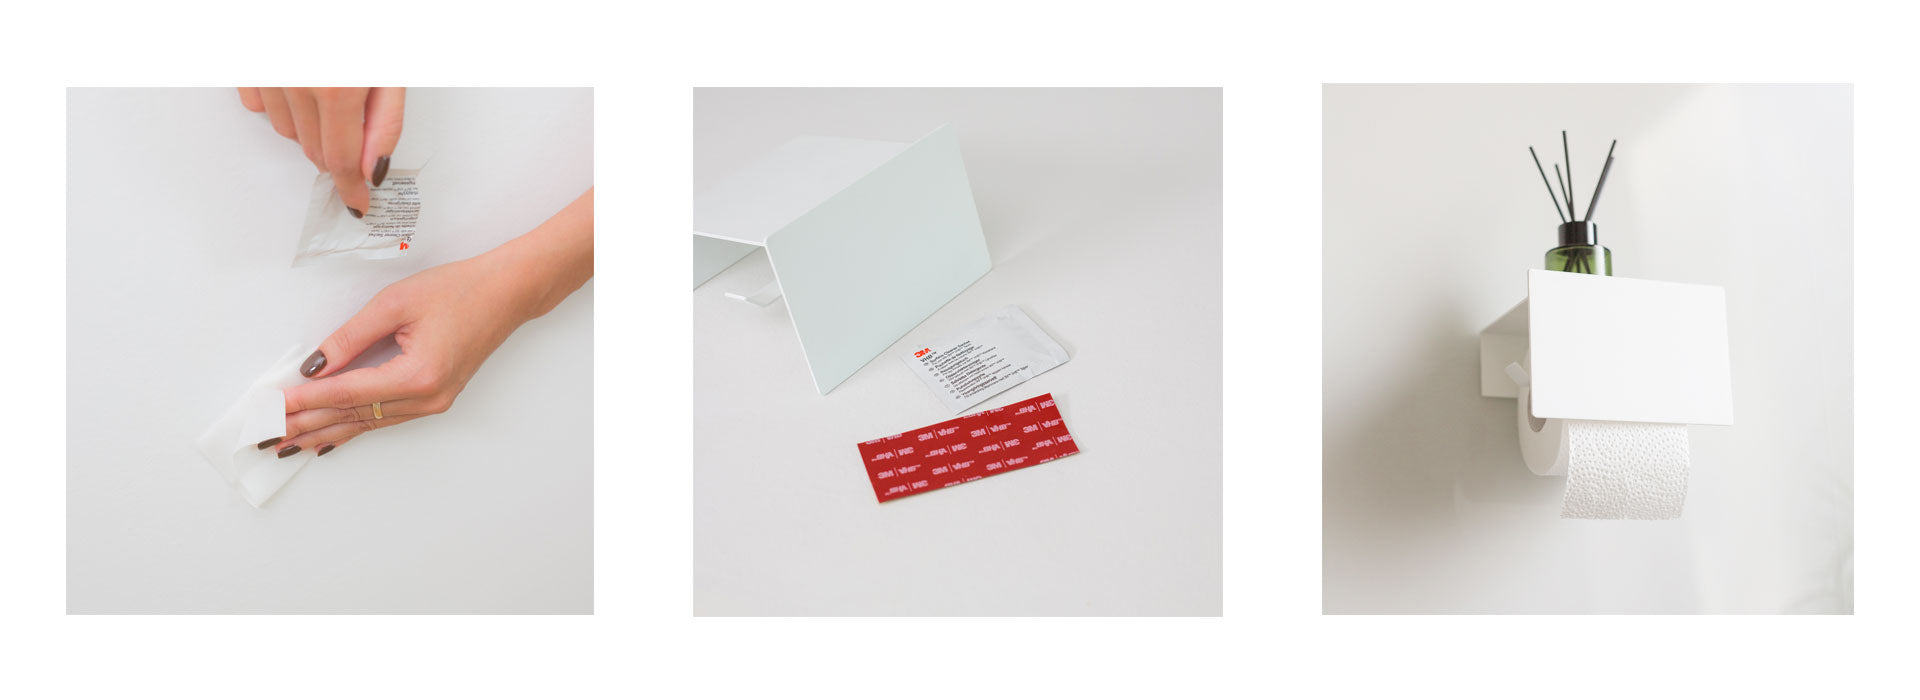
At Steelve, we know how important this step is. That’s why every product comes with an alcohol-soaked wipe to help you prepare your tiles properly.
Make sure the surface is completely dry before mounting your no-drill bathroom accessories.

Mistake 3: Using the Wrong Double-Sided Tape
Why cheap tape fails and how to choose the right adhesive for no-drill bathroom accessories
Cheap double-sided tapes are not water-resistant and will fail quickly in humid bathroom environments.
Think of tape as the point of contact between your product and the wall — just like tires are the only contact between your car and the road. Good tires matter, and so does good tape. Unfortunately, many shops cut corners by supplying no-drill bathroom accessories with low-quality tape, assuming that once the product is sold, it’s no longer their problem. That’s the wrong approach.
In reality, using high-quality, moisture-resistant tape is a key factor in secure installation. When applied properly, premium tape can hold modern no-drill bathroom accessories for many years — even inside the shower where water is constantly running.
How to make sure you’re using the right tape:
-
Ask the seller what type of tape they provide with their products.
-
If you’re buying tape separately, ask for guidance in the store to ensure it’s suitable for humid environments.
-
Always use moisture- and heat-resistant tape specifically designed for bathrooms.
At Steelve, we never compromise on quality — all our bathroom accessories come with top quality, water-resistant double-sided tape included in the set, so you don’t have to worry about it.
We go a step further by adding an adhesive promoter, which enhances the bonding strength to your surface.

Mistake 4: Installing in Cold or Humid Conditions
How temperature and humidity affect adhesive strength in no-drill bathroom installations
Cold and humid environments prevent adhesives from forming a strong bond. In low temperatures, the structure of the tape doesn’t work as designed — the micropores can’t grip the surface properly. The same happens in humid conditions, where a thin layer of moisture blocks the tape from sticking securely.
How to avoid it:
-
Always install when the room temperature is above 18 °C ; ideally around 22 °C.
-
Avoid installing right after a shower, when steam and condensation are present.
-
For best results, choose a dry day and allow the bathroom to fully ventilate before mounting your no-drill bathroom accessories.
-
If the tiles feel cold, gently warm the surface with a hair dryer until it reaches around 20 °C — this helps the tape bond much more effectively.
Mistake 5: Ignoring the Required Bonding Time
Why patience matters when installing no-drill bathroom accessories for lasting results
Last but not least — give it time! After carefully cleaning and preparing the surface, you don’t want to ruin the installation by rushing the final step. Think of the tape as having millions of tiny pores that need time to bond securely with the wall. Without proper pressure and waiting time, the adhesive won’t reach its full strength.
How to avoid it:
-
Press the accessory firmly against the wall for at least 30–60 seconds.
-
Wait 24–48 hours before placing any load on the product. During this time, the tape bonds fully and reaches maximum strength.
-
Avoid hanging toilet paper, decorations or other items until the waiting period is over.
-
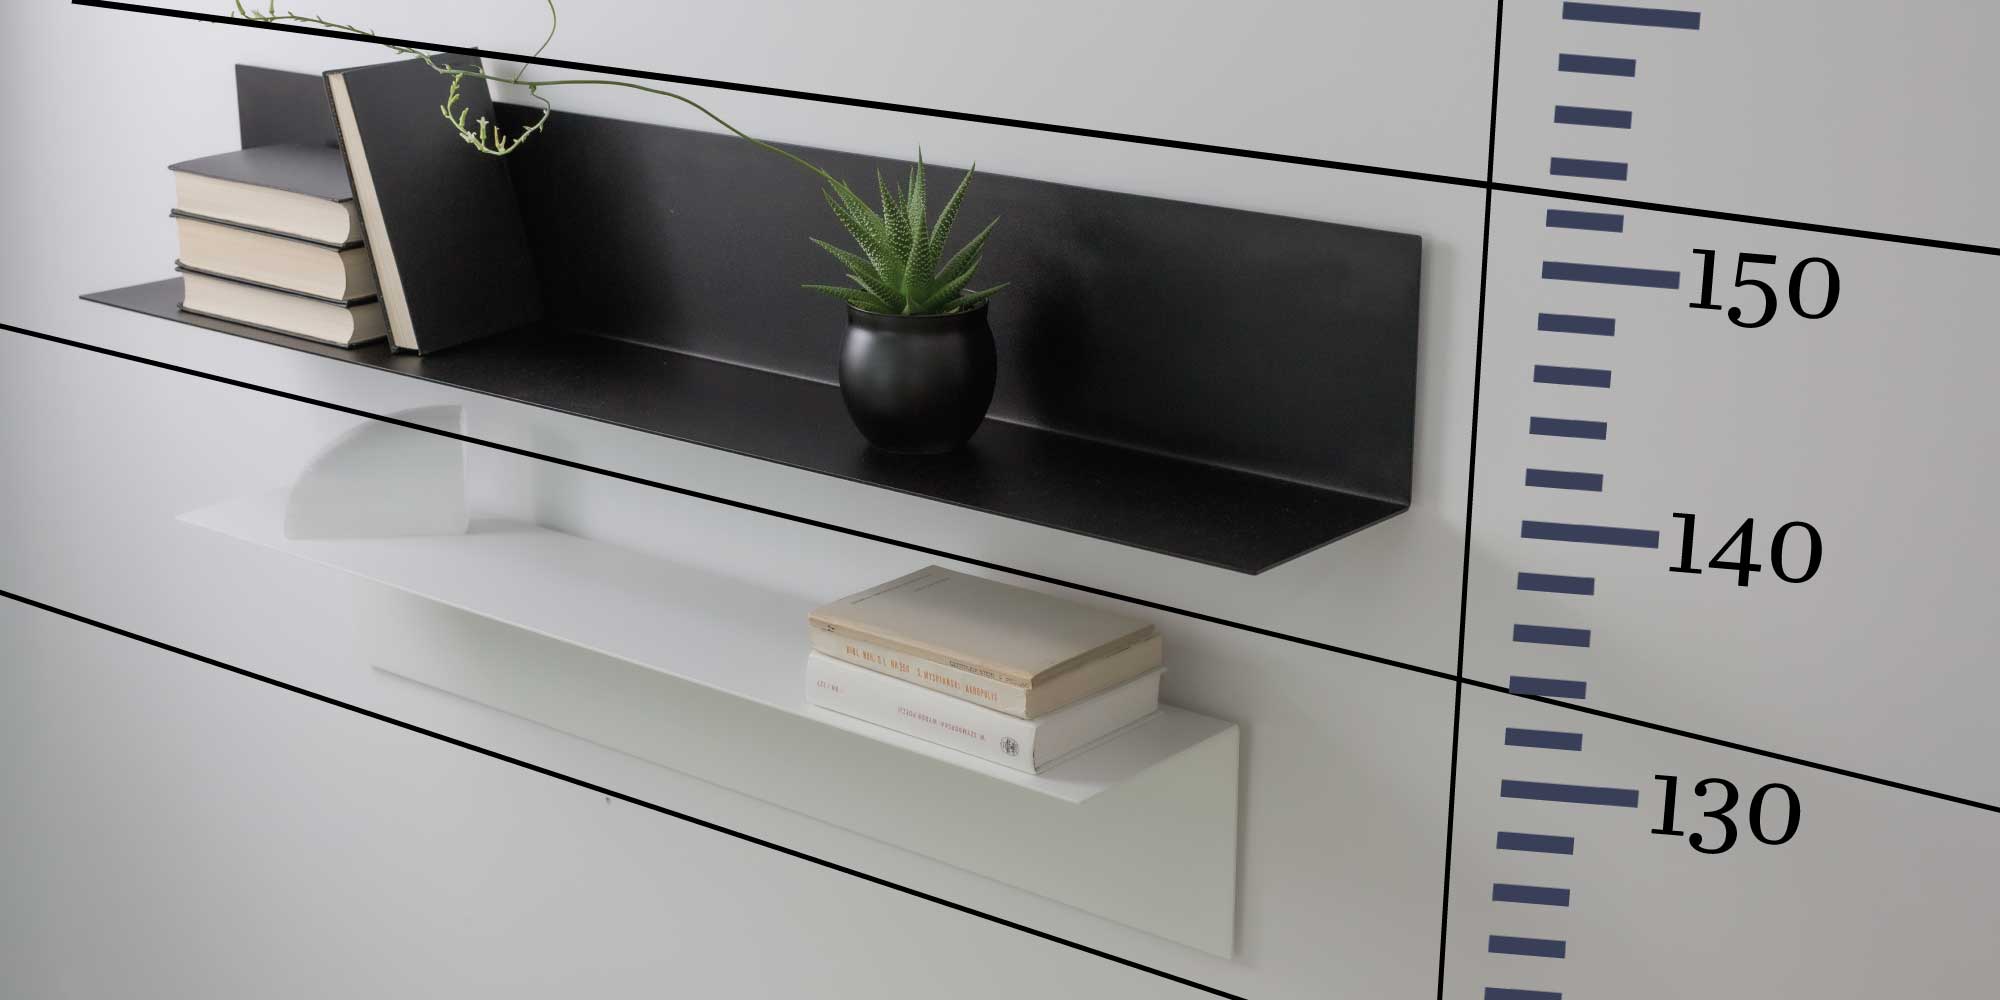
Never exceed the recommended weight capacity of your product and tape — check the instruction manual or product website for details.
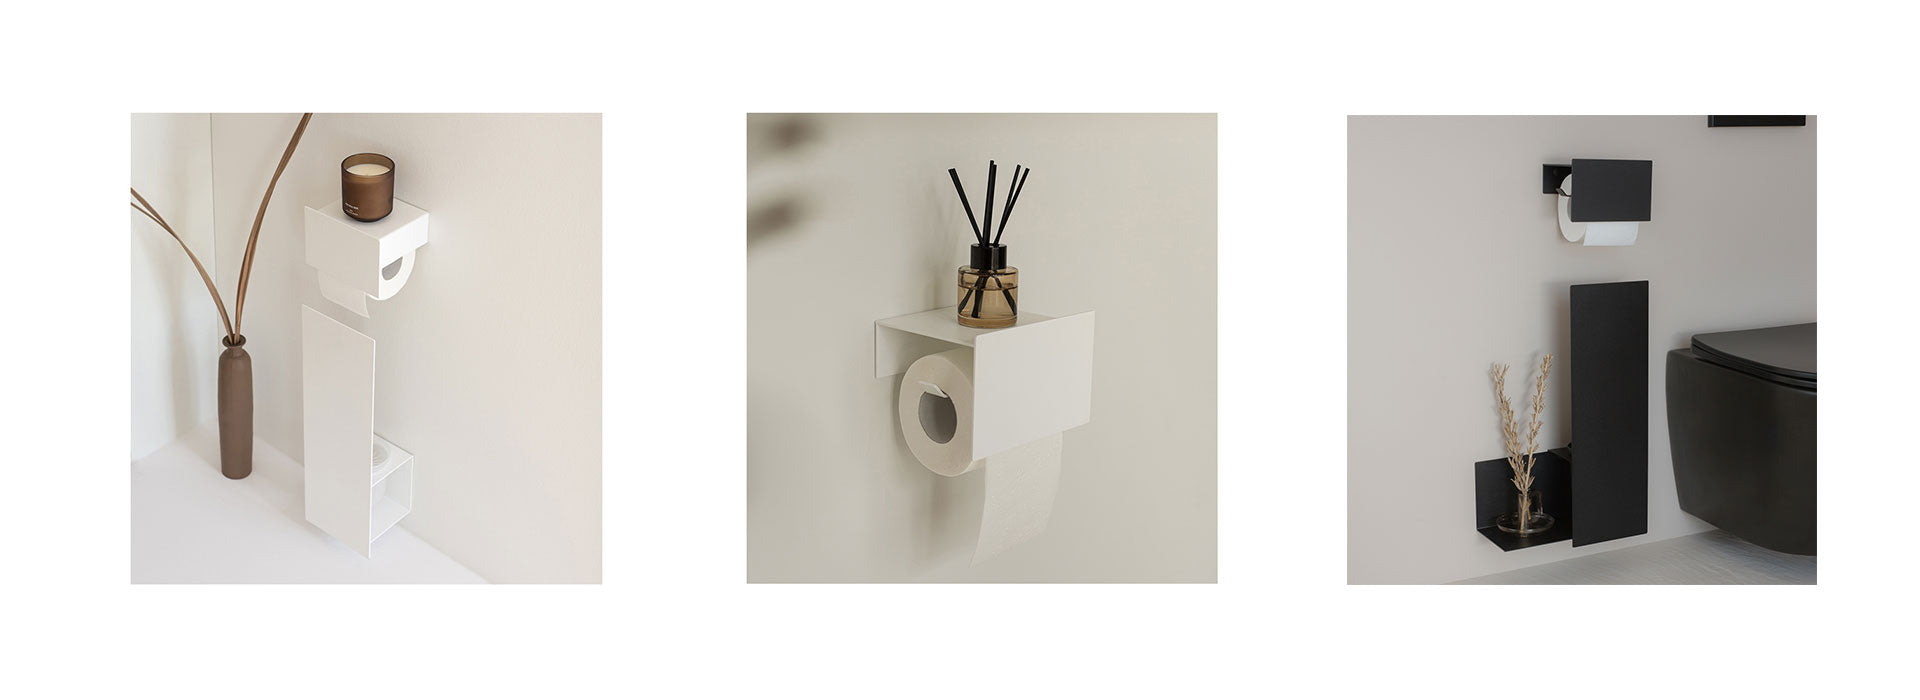
Installing no-drill bathroom accessories might sound simple, but don’t be fooled. Modern no-drill solutions can be mounted, removed, and even repositioned without leaving holes in your tiles. As long as you prepare the surface correctly, use the right adhesive, and allow proper curing time, you’ll enjoy a durable and elegant bathroom setup — all without damaging your tiles.
Are you looking for durable and modern no-drill bathroom accessories?
Explore our collection of minimalist designs at Steelve.
We take care of everything needed for a successful installation — that’s why we use only top-quality, water-resistant tape and include an alcohol wipe with primer with every product we sell.
Steelve bathroom accessories are made from rust-free materials, feature a timeless minimalist design, and are easy to install without drilling.

Discover our no drilling bathroom accessories:
more designs coming soon...